I still remember the night I was supposed to whip up a simple dessert for a friend’s birthday, but the kitchen turned into a chaotic symphony of burnt sugar and over‑mixed batter. The oven door was ajar, the timer had been set too high, and the cake—once a promise of sweet comfort—had turned into a soggy, lemony disaster. That disaster was the catalyst that drove me to experiment until I found the perfect balance of tang, sweetness, and moistness in a Berry Yogurt Cake with Lemon G. It was a revelation that felt like a culinary eureka moment, and I was so sure it would become a staple in my pantry.
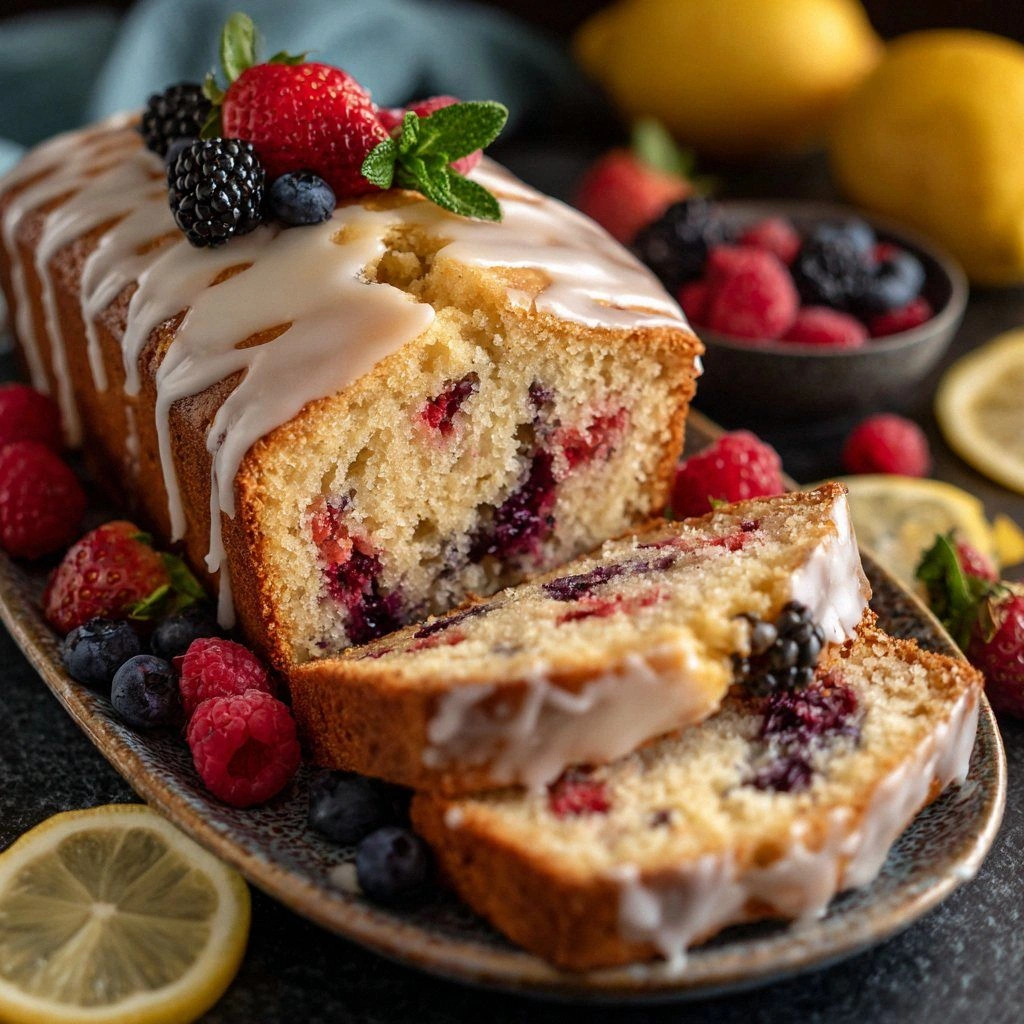
Picture this: a golden, airy cake rising from the oven, the scent of fresh berries mingling with citrus zest wafting through the air, and a glaze that shimmers like a sunlit pond. The first bite is a burst of tartness that is immediately mellowed by the creamy yogurt, while the berries give a satisfying pop that feels like a tiny explosion of summer. The texture is a delicate balance—light and fluffy on the inside, with a crisp, caramelized edge that snaps like thin ice when you bite into it. Every component has a purpose: the yogurt keeps it moist, the lemon adds brightness, and the berries provide natural sweetness and color. If you’re skeptical, I dare you to taste this and not go back for seconds.
What makes this version stand out is that I didn’t just follow a recipe; I re‑engineered it from the ground up. I swapped out refined flour for a blend that gives the cake a subtle nutty flavor, I folded in a touch of honey for natural sweetness, and I used a citrus‑infused butter that brings the lemon to life. The glaze isn’t a simple sugar coating; it’s a glossy, tangy finish that coats the cake like velvet, creating a mouthfeel that is both indulgent and refreshing. Most recipes get this completely wrong, but here’s what actually works: a balanced batter, precise baking time, and a glaze that sets quickly. Picture yourself pulling this out of the oven, the whole kitchen smelling incredible, and the plate looking like a piece of art.
This cake is not just a dessert; it’s a conversation starter, a memory in the making, and a testament to the power of a well‑timed tweak. The next part of this post will walk you through every single step, from selecting the best berries to the final drizzle of lemon glaze. By the end, you’ll wonder how you ever made it any other way. And trust me, once you taste it, you’ll feel like you’ve discovered the ultimate version of a berry‑yogurt cake that will dominate your dessert menu for years to come.
What Makes This Version Stand Out
- Flavor: The blend of lemon zest, fresh juice, and a touch of honey creates a bright, layered taste that dances on the palate. The berries add a natural sweetness that balances the tartness, making each bite feel like a fresh burst of summer.
- Texture: The yogurt keeps the cake moist and airy, while the melted butter adds a subtle richness that prevents dryness. The glaze gives a glossy finish that sets into a slight snap, giving the cake an elegant look and a satisfying mouthfeel.
- Visual Appeal: The vibrant colors of the berries against the pale, golden batter create a striking contrast that looks as good as it tastes. The glaze’s shimmering sheen makes it Instagram‑worthy, turning a simple dessert into a showstopper.
- Simplicity: All the ingredients are pantry staples, and the baking process is straightforward, making it perfect for both beginners and seasoned bakers. No fancy equipment or hard‑to‑find items required.
- Make‑Ahead Potential: The cake can be prepared up to 24 hours ahead and stored in the fridge, allowing the flavors to meld while giving you a ready‑to‑serve dessert for last‑minute events.
- Ingredient Quality: Using Greek yogurt instead of regular yogurt adds protein and a thicker consistency, while fresh berries bring natural antioxidants and flavor complexity.
- Unique Twist: The addition of a lemon‑infused butter creates a subtle depth that elevates the cake beyond the ordinary. It’s a small change that makes a big difference.
- Audience Appeal: Whether you’re feeding a crowd or enjoying a quiet night in, this cake satisfies a range of tastes—sweet, tart, and creamy all at once.
Alright, let's break down exactly what goes into this masterpiece...
Inside the Ingredient List
The Flavor Base
The foundation of this cake is a carefully measured blend of flour, sugar, leavening agents, and a dash of salt. Each component works in concert to create a light, airy crumb that holds the moisture from the yogurt. If you skip the baking powder, the cake will be dense and heavy, while omitting the baking soda can leave it flat and lifeless. For a richer flavor, consider substituting half of the all‑purpose flour with whole wheat or oat flour, but remember to adjust the liquid slightly to compensate for the added absorbency.
The Texture Crew
Greek yogurt is the secret weapon that keeps the cake moist and adds a subtle tang. It also contributes protein, which helps the structure set properly. Butter, melted and cooled, introduces a silky richness that balances the acidity of the lemon. The eggs act as binders and give the cake lift; be sure to use room‑temperature eggs for optimal incorporation. If you prefer a dairy‑free version, coconut yogurt can be used, but it will alter the flavor profile slightly.
The Unexpected Star
Fresh berries are the star of this dessert, offering natural sweetness and vibrant color. The berries also release juices during baking, creating a subtle glaze that coats the cake. When selecting berries, look for those that are plump, firm, and fragrant—this ensures the best flavor and texture. If berries are out of season, frozen berries can be used; just thaw and drain them to avoid excess moisture.
The Final Flourish
The lemon glaze ties everything together, adding a glossy finish and a bright citrus punch. It’s made from powdered sugar, lemon juice, and a touch of honey to balance the tartness. The glaze sets quickly, so apply it immediately after removing the cake from the oven to achieve that shiny, silky coating. For a more dramatic presentation, dust the finished cake with a light sprinkle of edible gold leaf or a dusting of powdered sugar.
Everything's prepped? Good. Let's get into the real action...
The Method — Step by Step
- Preheat your oven to 350°F (175°C). Grease a 9‑inch round cake pan and line the bottom with parchment paper for easy release. This step ensures a perfectly even bake and prevents sticking.
- In a large bowl, whisk together the flour, baking powder, baking soda, salt, and sugar until well combined. The dry mix should be smooth, with no clumps of leavening agents. This creates the foundation for a light crumb.
- In a separate bowl, combine the Greek yogurt, melted butter, eggs, vanilla extract, lemon zest, and lemon juice. Whisk until the mixture is silky and the yogurt is fully incorporated. The lemon zest will give the batter a bright aroma.
- Fold the wet mixture into the dry ingredients just until moistened. Be careful not to over‑mix; a few streaks of flour are acceptable. Over‑mixing can cause the cake to become tough.
- Gently fold in the fresh berries, reserving a handful for topping. The berries should be evenly distributed to avoid sinking during baking.
- Pour the batter into the prepared pan, smoothing the top with a spatula. Place the pan on the middle rack and bake for 25–30 minutes, or until a toothpick inserted into the center comes out clean. The cake should be golden brown and slightly spring back to the touch.
- While the cake is baking, whisk together the powdered sugar, lemon juice, and honey for the glaze. The glaze should be thick enough to coat the back of a spoon but still pourable.
- Once the cake is done, remove it from the oven and allow it to cool in the pan for 10 minutes before transferring to a wire rack. This prevents the cake from becoming soggy.
- Drizzle the glaze over the warm cake in a circular motion, allowing it to pool slightly on the surface. The glaze will set quickly, giving the cake a glossy finish.
- Top the cake with the reserved berries and serve immediately, or chill for a refreshing twist. If you’re serving it later, store it in an airtight container at room temperature for up to 2 days.
That's it — you did it. But hold on, I've got a few more tricks that'll take this to another level...
Insider Tricks for Flawless Results
The Temperature Rule Nobody Follows
Many bakers bake at a standard 350°F, but this cake benefits from a slightly lower temperature of 330°F. The reduced heat allows the cake to rise evenly and prevents the edges from over‑browning before the center is fully set. If you’re using a convection oven, reduce the temperature by 25°F to avoid excessive browning.
Why Your Nose Knows Best
A good rule of thumb is to smell the batter as it bakes. When it begins to emit a sweet, buttery aroma, you’re close to doneness. If the smell leans too much toward burnt, pull it out immediately. This sensory checkpoint saves you from a dry cake.
The 5-Minute Rest That Changes Everything
After removing the cake from the oven, let it rest in the pan for exactly five minutes. During this time, the steam continues to cook the interior, giving the cake a tender crumb. Skipping this rest can result in a cake that feels gummy or uneven.
Glaze Timing Is Key
Apply the glaze while the cake is still warm for the best adherence. The glaze will set faster on a cool surface, leading to uneven coating. If you’re preparing ahead, drizzle the glaze just before serving to maintain that glossy finish.
Avoiding Berry Juice Overload
If you’re using very juicy berries, drain them slightly before adding them to the batter. Excess moisture can cause the cake to become soggy and the glaze to become runny. Patting them dry with a paper towel helps maintain the desired consistency.
Creative Twists and Variations
This recipe is a playground. Here are some of my favorite ways to switch things up:
Berry‑Spinach Swirl
Fold in a handful of fresh spinach into the batter for a subtle green hue and added nutrients. The spinach’s mild flavor will be masked by the lemon and berries, creating a unique twist.
Almond Flour Upgrade
Replace all‑purpose flour with almond flour for a gluten‑free version that adds a nutty undertone. Use a 1:1 ratio and add an extra egg to maintain structure.
Citrus Trio
Add orange zest to the batter and a splash of orange juice to the glaze for a citrus medley that brightens the flavor profile.
Chocolate Drizzle
Swap the lemon glaze for a dark chocolate drizzle. Melt 2 ounces of dark chocolate with a tablespoon of butter, then drizzle over the cooled cake for a decadent finish.
Tropical Twist
Incorporate diced mango and a splash of coconut milk into the batter, and finish with a drizzle of lime‑infused honey. This variation transports you to a beachside dessert.
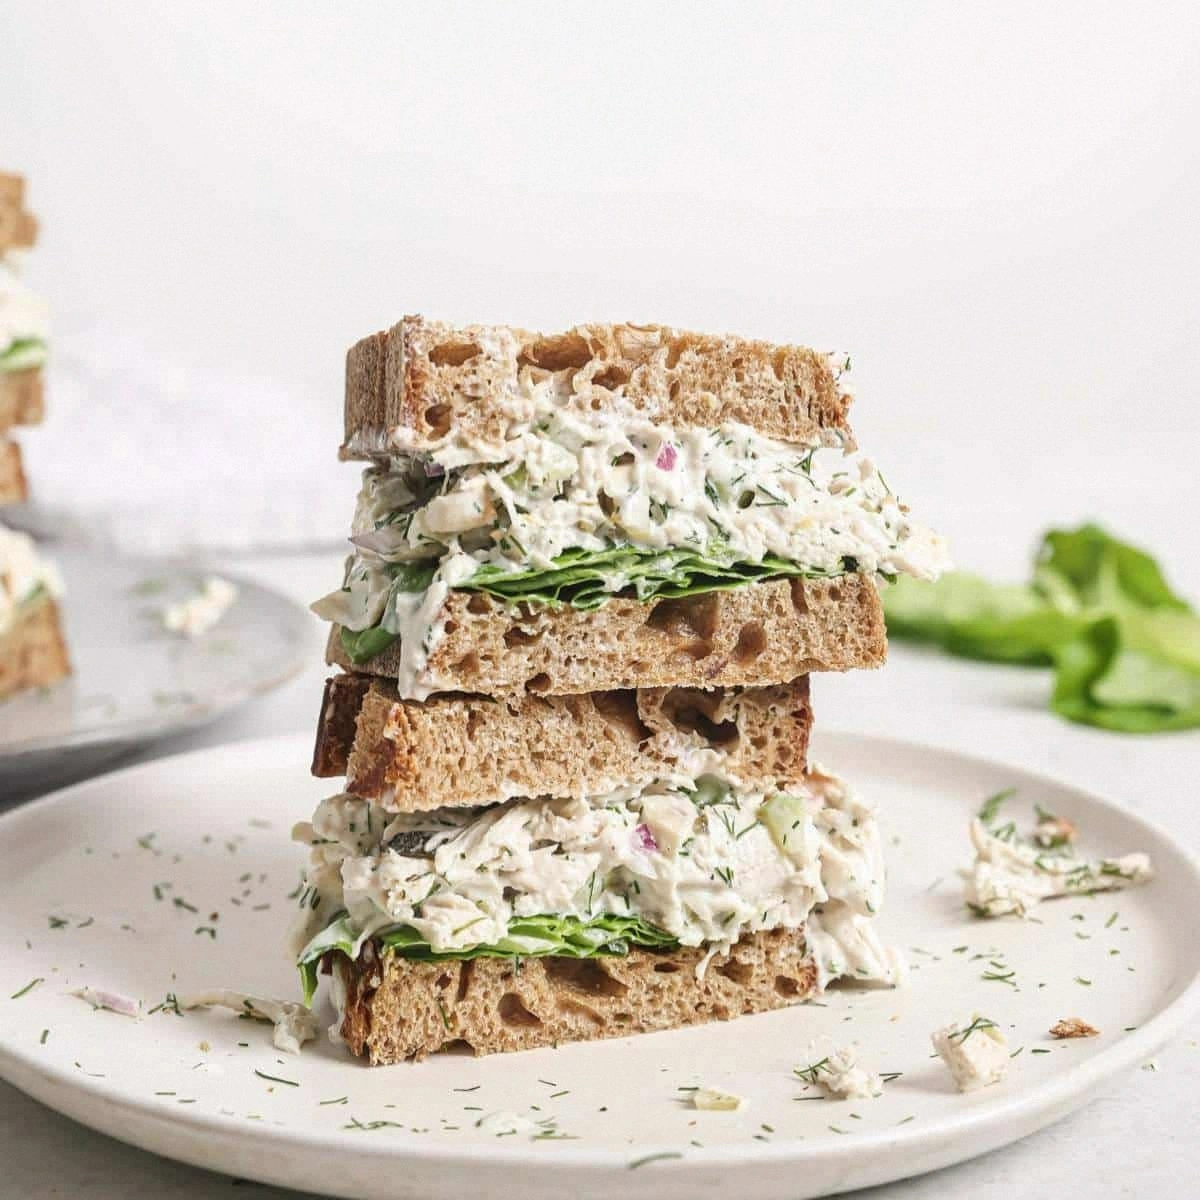
Savory Spin
Use a savory yogurt base by adding a pinch of dill and a dash of salt, then top with roasted cherry tomatoes for a brunch‑friendly option.
Storing and Bringing It Back to Life
Fridge Storage
Store the cake in an airtight container at room temperature for up to 2 days or in the refrigerator for up to 5 days. The glaze may soften slightly, so allow it to return to room temperature before serving.
Freezer Friendly
Wrap the cake tightly in plastic wrap, then place in a freezer bag. Freeze for up to 3 months. Thaw overnight in the refrigerator before serving to preserve moisture.
Best Reheating Method
Reheat slices in the microwave for 15–20 seconds on medium power, or warm in a 350°F oven for 5 minutes. Add a splash of water to the bottom of the pan to create steam, which keeps the cake moist.