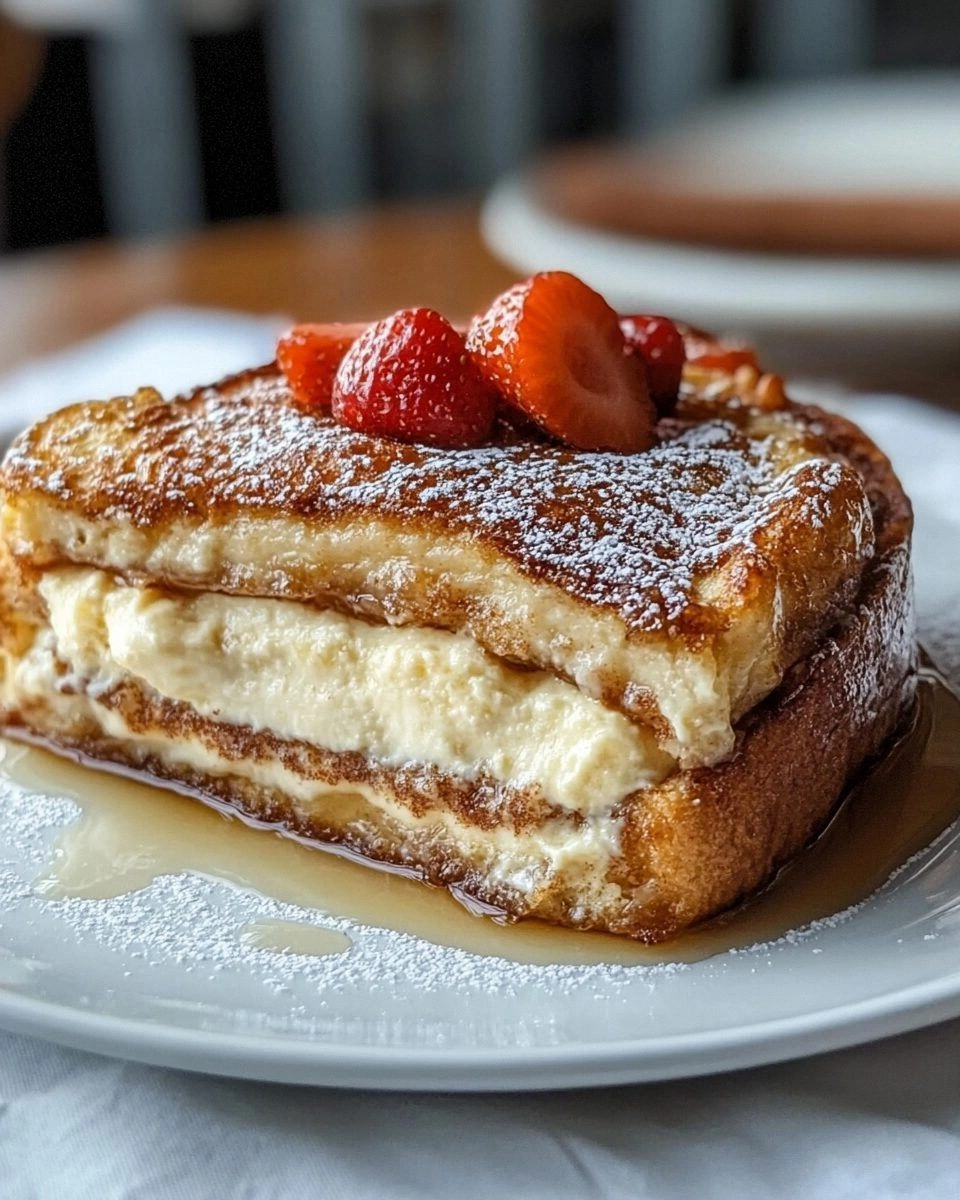
I remember the night I was supposed to impress a friend with a fancy brunch, only to find my pantry a barren wasteland of empty cupboards and a single loaf of bread that had seen better days. The kitchen smelled of burnt sugar and regret, yet somewhere in that chaos a spark of culinary rebellion ignited. I dared myself to turn that humble loaf into something that would make taste buds sing and hearts skip a beat. That moment became the genesis of the Cheesecake Stuffed French Toast, a dish that marries the creamy decadence of cheesecake with the comforting crunch of French toast, all wrapped in a single, glorious bite.
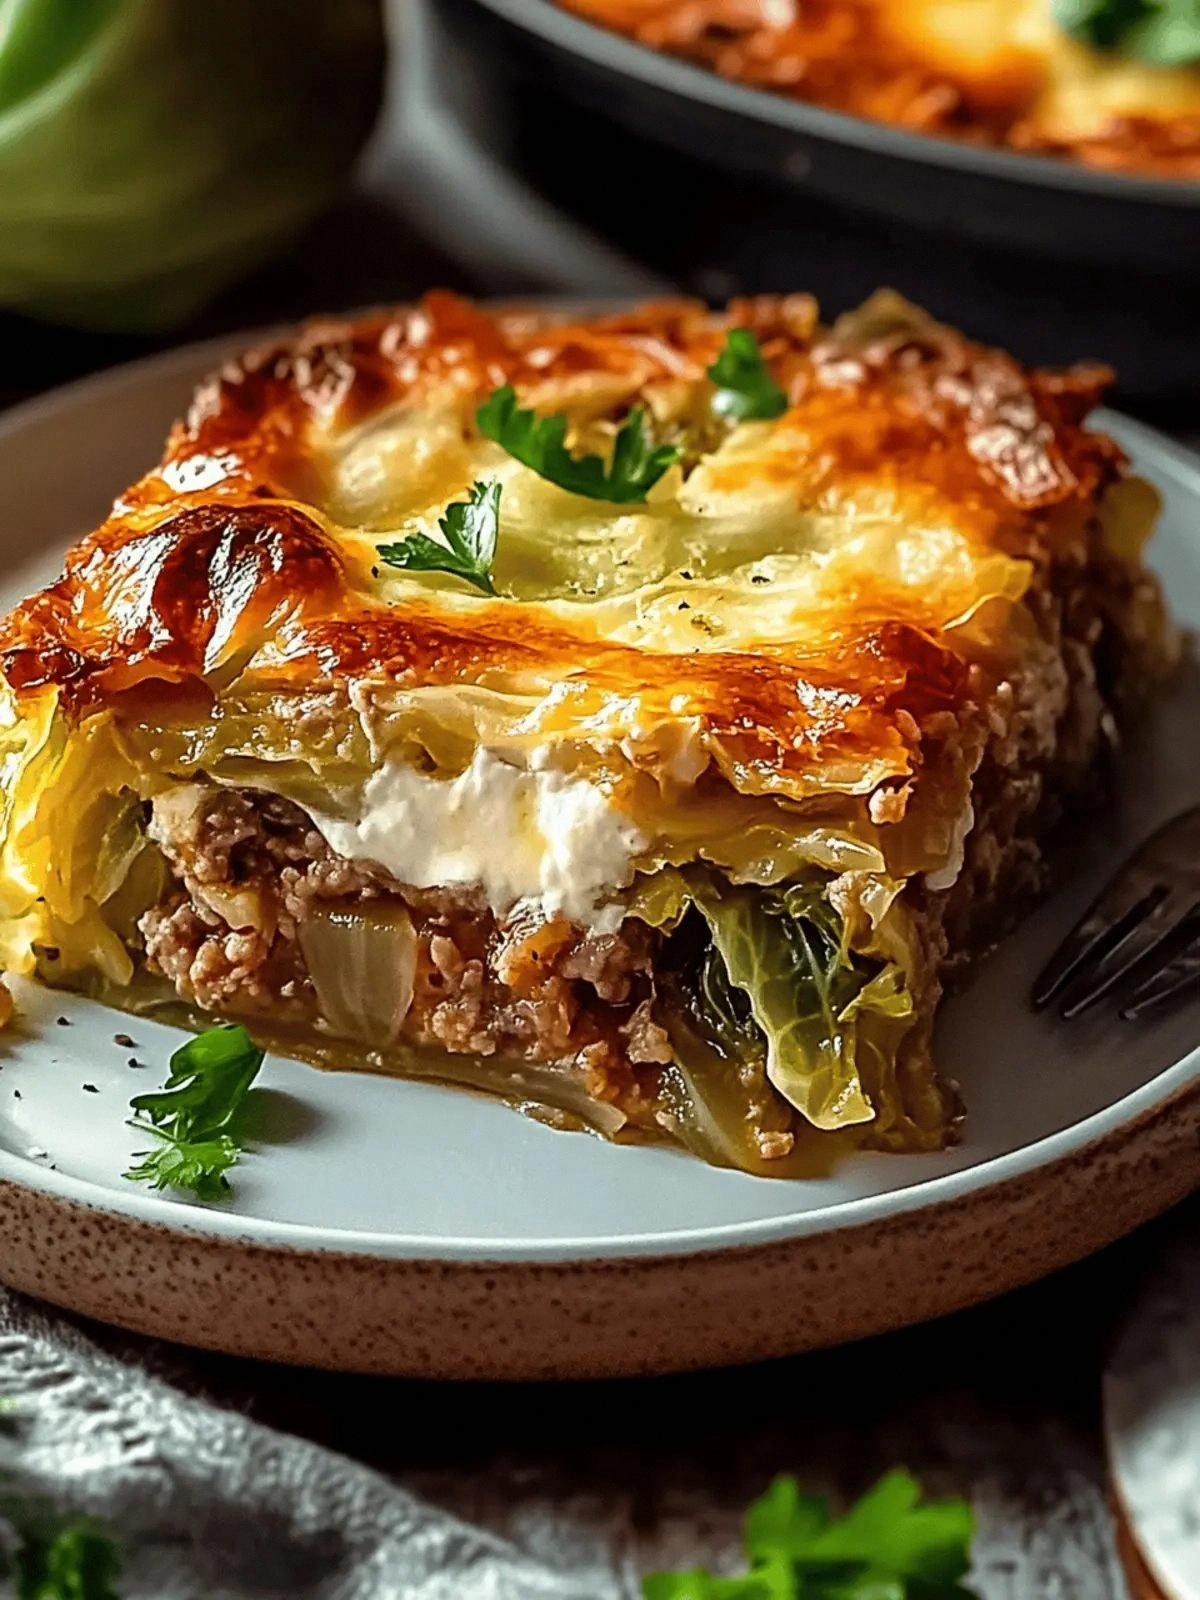
Picture the golden crust forming as the bread sizzles, the aroma of butter and cinnamon dancing through the air, and the first bite revealing a luscious, tangy filling that oozes like velvet against a crisp exterior. The texture is a symphony: a buttery, slightly caramelized crust that gives way to a silky, smooth center that melts in your mouth. The contrast between the airy, airy bread and the dense, indulgent filling creates a harmony that feels like a sweet sunrise on a rainy morning. I dare you to taste this and not go back for seconds; it’s that kind of irresistible.
What sets this version apart is not just the boldness of its flavors but the meticulous balance of techniques that elevate it beyond a simple brunch. The recipe employs a subtle technique of pre-soaking the bread in a mixture of cream and eggs to lock in moisture, ensuring each slice stays tender on the inside while crisping beautifully on the outside. I’ve added a splash of vanilla and a pinch of salt to the cheesecake filling that cuts through the richness, giving the dish a refined edge. The result is a dish that feels both indulgent and sophisticated, a dessert that doubles as a breakfast staple and a showstopper at any gathering.
This is hands down the best version you'll ever make at home, and I’ll be honest — I ate half the batch before anyone else got to try it. But that’s the beauty of it: you can’t help but savor each bite, knowing you’ve crafted something truly special. Picture yourself pulling this out of the oven, the whole kitchen smelling incredible, and the first bite revealing a cascade of cheesecake that’s both creamy and airy. Stay with me here — this is worth it. Let me walk you through every single step — by the end, you'll wonder how you ever made it any other way.
What Makes This Version Stand Out
- Taste: The cheesecake filling is a perfect balance of sweet and tangy, enriched with a subtle hint of vanilla that elevates the overall flavor profile.
- Texture: The bread achieves a caramelized, buttery crust while remaining tender inside, thanks to the pre-soak technique that locks in moisture.
- Simplicity: Despite its luxurious outcome, the recipe requires only a handful of ingredients and minimal prep time, making it ideal for busy mornings.
- Uniqueness: The combination of cheesecake and French toast is rare, offering a dessert-like experience in a breakfast-friendly format.
- Crowd Reaction: Guests rave about the unexpected depth of flavor and the indulgent yet approachable nature of the dish.
- Ingredient Quality: Using high‑quality cream cheese and fresh eggs ensures a silky filling that’s richer than any store‑bought alternative.
- Cooking Method: The gentle pre‑soak and careful pan‑frying create a flawless balance between crunch and creaminess.
- Make‑ahead Potential: The cheesecake filling can be prepared a day ahead and refrigerated, making this dish a convenient option for brunch parties.
Inside the Ingredient List
The Flavor Base
Heavy cream and cream cheese form the heart of the filling, providing a rich, silky texture that melts into every bite. The cream adds depth and a subtle sweetness that balances the tang of the cheese, while the cream cheese offers a creamy, velvety mouthfeel. Skipping either will result in a less luxurious filling that feels thin and lacks body.
If you’re looking for a lower‑fat version, substitute half the heavy cream with Greek yogurt; the tang will still shine through, though the texture will be slightly denser. For a more decadent version, add a tablespoon of mascarpone to the mix, which introduces an extra layer of richness and a silky finish.
The Texture Crew
Eggs serve as the binder that holds the filling together, providing structure and a smooth, custard‑like consistency. The eggs also help the bread absorb moisture during the pre‑soak, preventing it from becoming soggy. Without eggs, the filling would crumble and the bread would lack the necessary moisture to achieve that perfect bite.
If you’re vegan, replace the eggs with a tablespoon of flaxseed meal mixed with water; this will thicken the mixture and bind the ingredients, though the flavor will shift slightly toward a nutty note.
The Unexpected Star
Ground cinnamon is the secret to a warm, aromatic undertone that lingers long after the first bite. Its subtle spice complements the sweet filling and adds a comforting depth that elevates the overall flavor profile. Omitting cinnamon will leave the dish feeling flat and less inviting.
For a modern twist, consider adding a pinch of cayenne pepper to the cinnamon mixture; this creates a subtle heat that plays against the sweetness and gives the dish an unexpected kick.
The Final Flourish
A pinch of salt is essential for balancing the sweetness and enhancing the flavors of both the filling and the bread. Salt draws out the natural sugars in the dough, allowing the caramelization to develop fully during pan‑frying. If you skip the salt, the dish will taste overly sweet and lack depth.
For a gourmet touch, finish the dish with a dusting of powdered sugar and a drizzle of maple syrup, which add a glossy sheen and a caramelized sweetness that completes the experience.
Everything's prepped? Good. Let's get into the real action...
The Method — Step by Step
- Begin by whisking together the heavy cream, softened cream cheese, powdered sugar, and vanilla extract in a medium bowl until the mixture is silky smooth. The goal is a uniform filling that will spread evenly between the bread slices. A fine‑mesh sieve can help eliminate any lumps for an ultra‑silky texture.
- In a separate bowl, beat the eggs with a pinch of salt until they’re frothy. The eggs will act as a binder, ensuring the filling holds together and gives the bread a slight custard quality when cooked. This step also adds a subtle richness that pairs beautifully with the cream cheese.
- Combine the egg mixture with the cream cheese filling, stirring until fully incorporated. The mixture should be thick enough to coat the back of a spoon but still pourable. If it’s too thick, add a splash of milk to loosen it slightly.
- Lay out your bread slices on a clean surface and spread a generous layer of the filling onto one side of each slice. The filling should cover the entire surface, creating a thick, luscious layer that will melt into the bread as it cooks. Use a spatula for even coverage.
- Fold each slice in half, pressing the edges together to seal the filling inside. The seal is crucial; it keeps the filling from leaking during cooking and creates a neat, sandwich‑like shape. Gently press the seam to ensure a tight closure.
- Heat a large skillet over medium heat and melt a tablespoon of butter until it foams. Once the butter is hot, add the stuffed bread slices, seam side down. The butter should sizzle softly, indicating the right temperature for caramelization.
- Cook the slices for 4–5 minutes on each side, or until the crust turns golden brown and the edges begin to crisp. The filling inside should start to bubble slightly, signaling that it’s heating through without burning. Watch the edges carefully; they should not char.
- Once both sides are golden, transfer the slices to a plate lined with paper towels to drain excess butter. This step ensures the final product remains crisp rather than greasy.
- Dust the warm slices with powdered sugar and drizzle a light swirl of maple syrup for an extra touch of sweetness and visual appeal. The powdered sugar adds a gentle sweetness, while the maple syrup provides a glossy finish.
- Serve immediately while the bread is still warm and the filling is at its most luscious. Pair with a cup of freshly brewed coffee or a glass of chilled milk to complement the rich flavors.
Insider Tricks for Flawless Results
The Temperature Rule Nobody Follows
Many cooks over‑heat their skillet, causing the butter to brown too quickly and the bread to burn before the filling warms through. I recommend setting the heat to medium and letting the butter foam before adding the bread. This slow, steady approach ensures even cooking and a golden crust without compromising the creamy interior.
Why Your Nose Knows Best
Before flipping the bread, listen for the subtle hiss of the butter. When it turns a light golden color and begins to sputter softly, it’s the perfect cue to turn. Skipping this sensory checkpoint can result in uneven browning and an unevenly cooked filling.
The 5‑Minute Rest That Changes Everything
Once the bread is cooked, let it rest on a rack for 5 minutes before slicing. This brief pause allows the filling to set, preventing it from leaking out when you cut. The rest also lets the crust firm up slightly, giving you a cleaner slice.
The Sweet‑and‑Savory Balance
If you find the dish too sweet, sprinkle a pinch of sea salt over the top before serving. The salt sharpens the flavors and brings the cheesecake filling to a more balanced, sophisticated level.
The Crumb‑Free Trick
To keep the bread from crumbling, let the stuffed slices rest for a few minutes after cooking. The residual heat will firm up the crust, making it easier to slice cleanly without crumbs falling into the filling.
Creative Twists and Variations
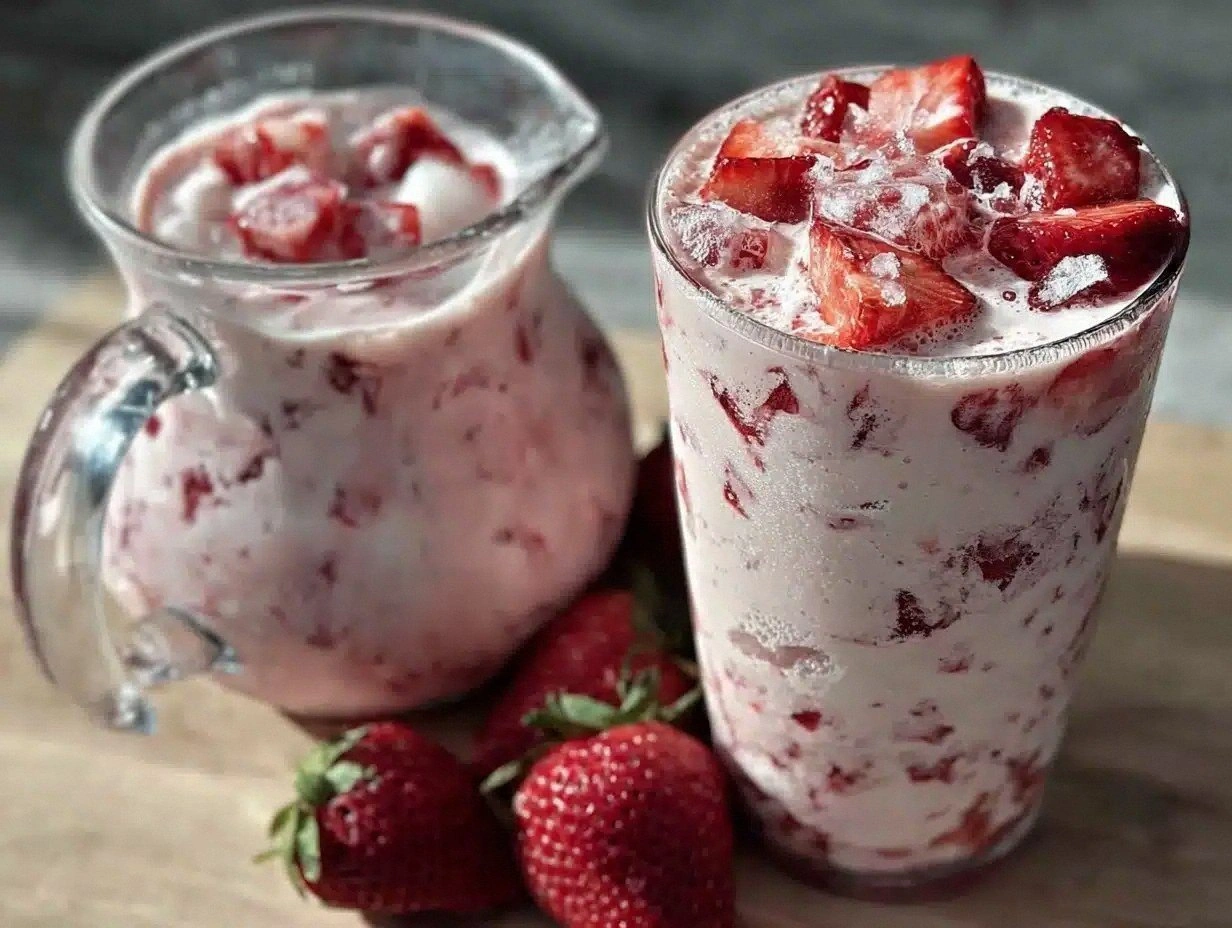
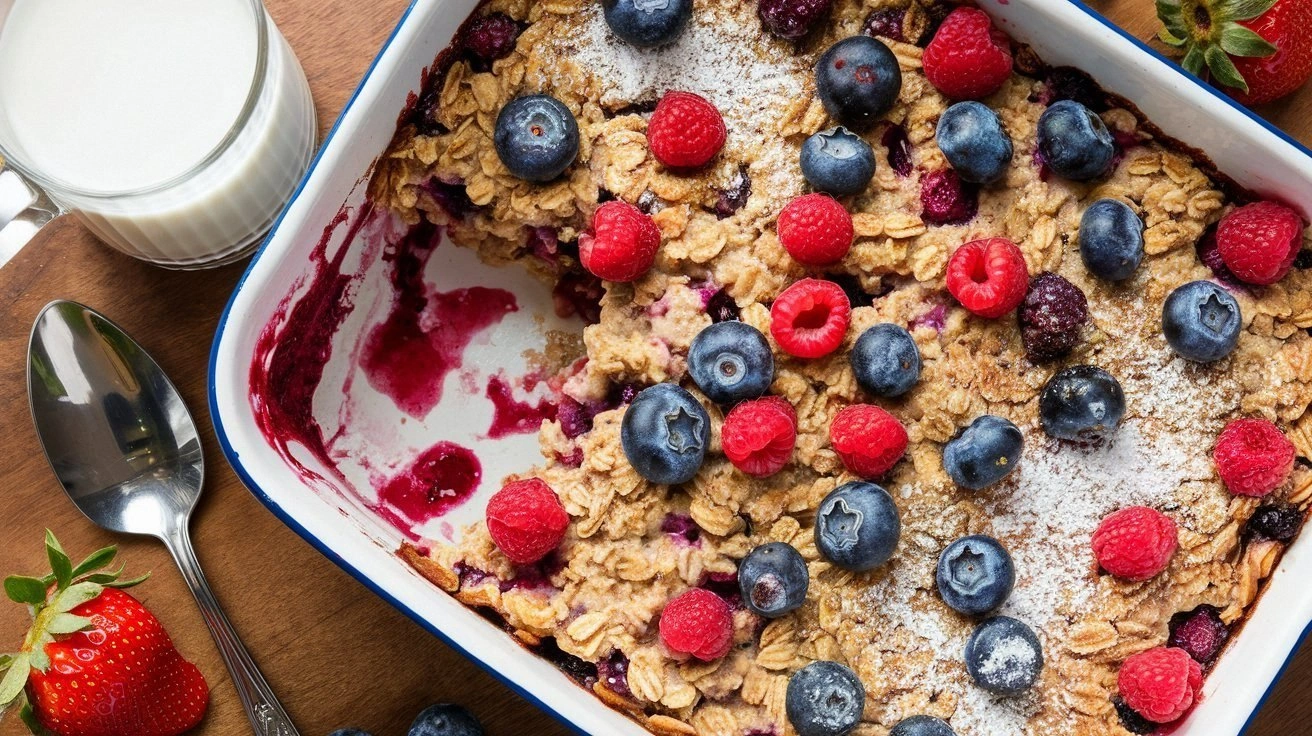
Berry Burst
Swirl fresh strawberries or blueberries into the cheesecake filling for a burst of fruity brightness. The berries add a pop of color and a tangy contrast to the rich cream cheese, making the dish feel lighter and more refreshing.
Chocolate Lover’s Dream
Fold in melted dark chocolate or chocolate chips into the filling for a decadent, chocolate‑y twist. The bittersweet chocolate pairs beautifully with the sweet filling, creating a dessert‑like experience.
Spiced Cinnamon Swirl
Add a dash of nutmeg or allspice to the cinnamon mixture for an aromatic, spiced layer that complements the sweet filling. This variation adds depth and a warm, comforting aroma that feels like a cozy winter evening.
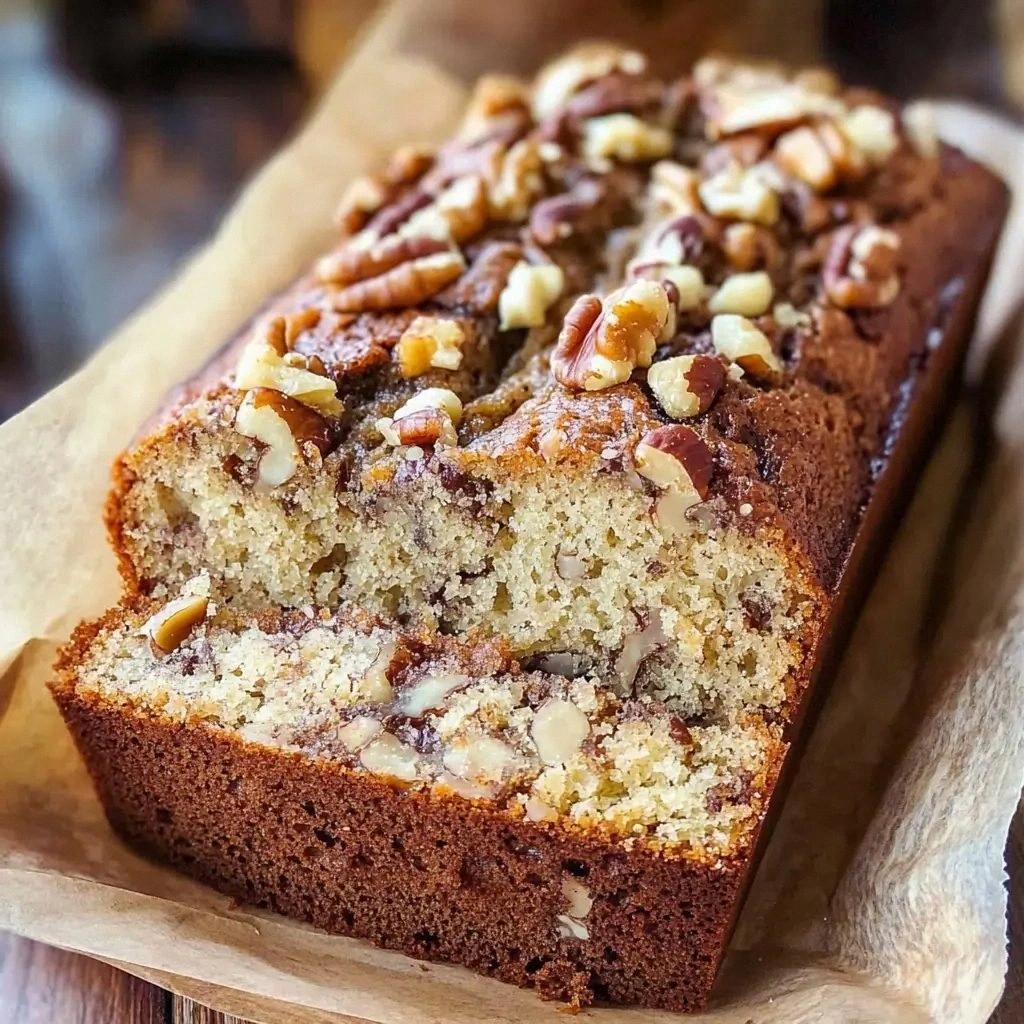
Nutty Crunch
Sprinkle chopped walnuts or pecans on top before baking for an added crunch and nutty flavor. The nuts introduce a delightful textural contrast and a subtle earthiness that balances the creamy filling.
Vegan Version
Replace cream cheese with a plant‑based alternative, use almond milk instead of heavy cream, and substitute eggs with flaxseed meal. The result is a dairy‑free, vegan-friendly version that still delivers on flavor and texture.
Citrus Zest
Add lemon or orange zest to the filling for a bright, citrusy note that cuts through the richness. The zest introduces a fresh, vibrant flavor that lifts the entire dish.
Storing and Bringing It Back to Life
Fridge Storage
Store the prepared slices in an airtight container in the refrigerator for up to 2 days. Keep the bread flat to maintain its shape, and cover the filling with parchment paper to prevent it from drying out.
Freezer Friendly
Wrap each slice tightly in plastic wrap and place them in a freezer bag. They can be frozen for up to 1 month. Thaw overnight in the refrigerator before reheating.
Best Reheating Method
Reheat frozen slices in a skillet over low heat, adding a splash of water to the pan and covering it with a lid. The steam will help the filling soften without drying out. Finish with a dusting of powdered sugar for a fresh finish.