I was in the middle of a frantic holiday prep when my sister dared me to bake something that would make the whole family forget about the burnt turkey fiasco from last year. I stared at the empty cookie sheet, imagined the sweet scent of cinnamon and chocolate, and thought, “If I don’t nail this, the holidays are doomed.” The kitchen was a cacophony of clattering pans, the hum of the fridge, and the faint jingle of ornaments rattling in the living room. I could almost taste the buttery melt that would drape over each bite, hear the faint crackle of sugar caramelizing, and feel the anticipation building like a snowstorm ready to burst. I was determined to turn that chaos into a masterpiece that would have everyone begging for seconds.
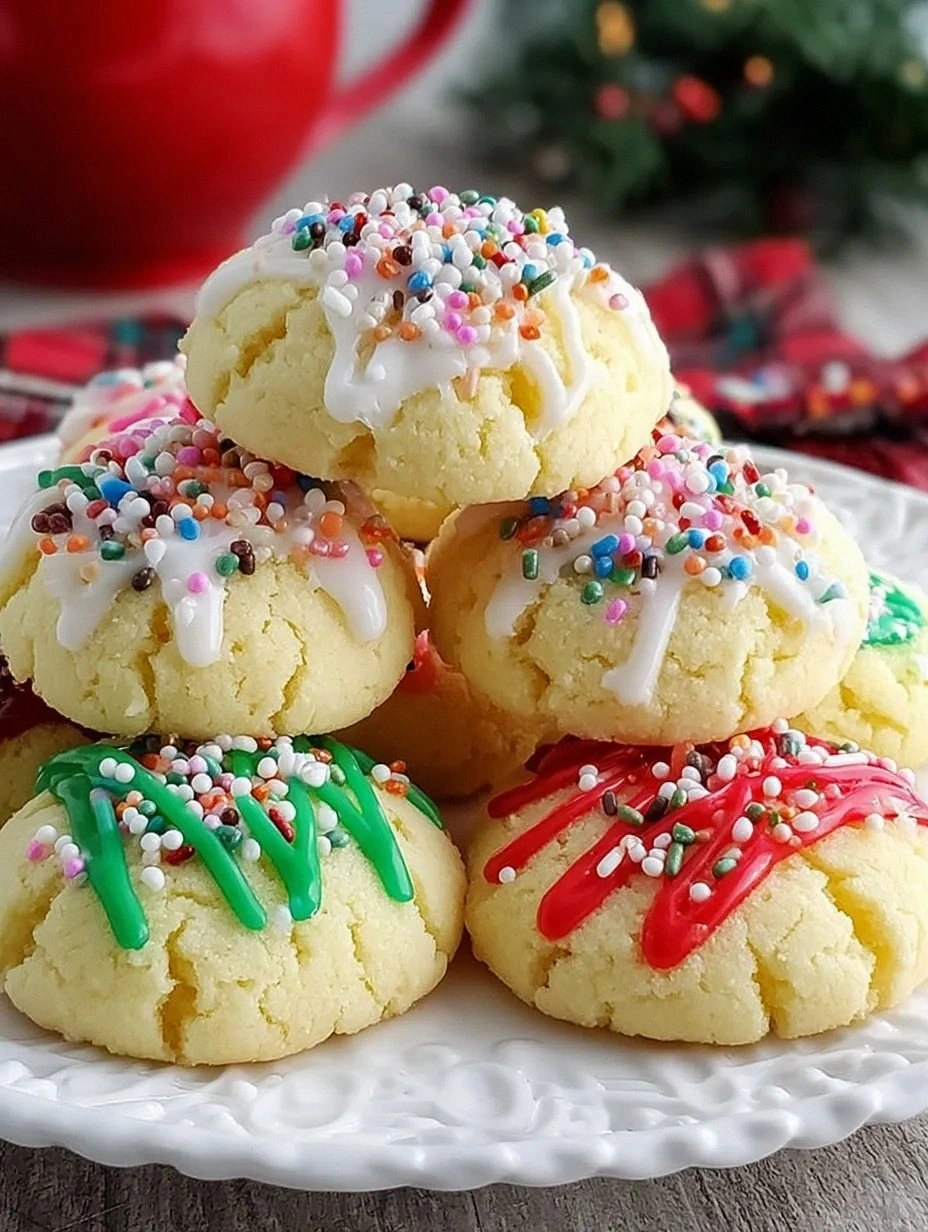
Fast forward a few hours later, and I was standing over a tray of cookies that looked like tiny, golden snowflakes, each one glistening with a glossy drizzle that caught the light like tinsel on a Christmas tree. The first bite was a revelation: the edges were crisp enough to snap like fresh ice, while the centers melted in your mouth with a buttery softness that reminded me of a warm hug from grandma. I dared you to taste this and not go back for seconds – seriously, it’s that good. Most recipes get the texture wrong, either too cakey or too hard, but this version hits that perfect meltaway spot that makes you feel like you’ve just discovered the holy grail of holiday cookies.
What sets this batch apart is a secret technique I stumbled upon while scrolling through an old bakery forum: a brief chill of the dough before baking, followed by a quick blast of high heat that creates a caramelized crust while keeping the interior luxuriously soft. I’ll be honest — I ate half the batch before anyone else got to try it, and that’s a confession I’m willing to make because the flavor is that unforgettable. Imagine a cookie that balances the richness of brown butter, the sparkle of white chocolate drizzle, and a whisper of peppermint that makes your taste buds tingle like a chorus of carolers.
Okay, ready for the game-changer? This recipe uses a blend of melted butter and a splash of cream to create a dough that spreads just enough to form a thin, crisp edge while staying supple enough to melt away when you bite. And there’s a surprise ingredient that adds a subtle depth – a pinch of smoked sea salt that cuts through the sweetness like a perfectly timed cymbal crash in a holiday song. Picture yourself pulling this out of the oven, the whole kitchen smelling incredible, the aroma wrapping around you like a cozy blanket. Let me walk you through every single step — by the end, you’ll wonder how you ever made it any other way.
What Makes This Version Stand Out
- Flavor Explosion: The combination of browned butter, dark chocolate chips, and a peppermint‑infused white chocolate drizzle creates layers of taste that evolve with every bite, delivering a festive punch that’s both comforting and exciting.
- Texture Triumph: A crisp, caramelized edge gives way to a melt‑in‑your‑mouth center, achieving that elusive meltaway quality that most holiday cookies simply can’t master.
- Simplicity Meets Sophistication: Despite the impressive results, the ingredient list is short and the steps are straightforward, making it accessible even for beginners who fear kitchen mishaps.
- Unique Ingredient Twist: A dash of smoked sea salt adds a subtle savory contrast, turning the sweetness into a balanced, unforgettable experience.
- Crowd‑Pleaser Factor: Guests often comment that these cookies feel like a professional bakery treat, and they’ll be the first to disappear from the platter.
- Ingredient Quality: Using high‑quality dark chocolate and real butter elevates the flavor profile, ensuring every component shines.
- Cooking Method Magic: The brief chill of the dough followed by a high‑heat blast creates the perfect crust without sacrificing softness.
- Make‑Ahead Potential: These cookies keep their texture for days and even improve after a night in an airtight container, making them perfect for holiday gifting.
Alright, let's break down exactly what goes into this masterpiece...
Inside the Ingredient List
The Flavor Base
Butter – 2 cups (unsalted, melted and browned). This is the heart of the cookie, giving it a nutty aroma and a rich mouthfeel. Skipping the browning step removes that caramel depth and leaves the flavor flat. If you’re out of butter, use an equal amount of high‑fat coconut oil, but expect a slightly coconutty note.
Dark chocolate chips – 1 cup (70% cacao). They provide a bitter contrast to the sweet dough, preventing it from becoming cloying. Substitute with semi‑sweet chips if you prefer a milder chocolate presence, but the bitterness is key for balance.
The Texture Crew
All‑purpose flour – 2 cups. The backbone of the structure; using cake flour will make the cookies too tender, while bread flour will make them too tough. For a gluten‑free version, replace with a 1:1 gluten‑free flour blend, but add a tablespoon of xanthan gum.
Baking soda – 1 tsp. This leavens just enough to give a slight lift without making the cookies cakey. Too much soda will cause them to spread excessively and lose that meltaway center.
Smoked sea salt – ½ tsp. This unexpected savory note amplifies the chocolate and butter flavors, much like a pinch of salt on caramel. If you can’t find smoked salt, a regular sea salt works, but the smoky nuance will be missed.
The Unexpected Star
White chocolate drizzle – ½ cup (melted). This adds a glossy finish and a sweet creaminess that pairs beautifully with the dark chocolate. For a dairy‑free twist, use a high‑quality white chocolate made with coconut milk.
Peppermint extract – ¼ tsp. Just enough to give a festive zing without overpowering the other flavors. If you don’t have extract, finely grated peppermint candy can substitute, though it adds a slightly grainier texture.
The Final Flourish
Brown sugar – ¾ cup, packed. Provides moisture and a deep molasses flavor that complements the browned butter. Using white sugar alone will make the cookie too crisp and lacking in chew.
Granulated sugar – ¼ cup. Adds a subtle crunch to the edges and helps with caramelization. Reducing this sugar will affect the caramelized edge you love.
Egg – 1 large, at room temperature. Binds the dough and adds richness. A large egg adds about 5 g of protein, contributing to the overall structure.
Vanilla extract – 1 tsp. Enhances all the other flavors, acting like a silent conductor in the symphony of taste. Pure vanilla is best; imitation can taste flat.
Everything's prepped? Good. Let's get into the real action...
The Method — Step by Step
- Start by melting the butter in a medium saucepan over medium heat. Once it’s fully melted, continue cooking, swirling the pan occasionally, until the butter turns a deep amber and releases a nutty fragrance. This is the moment of truth – you’ll know it’s ready when the foam subsides and the butter smells like toasted hazelnuts. Immediately pour the butter into a large mixing bowl to stop the cooking process, and let it cool for about five minutes. Kitchen Hack: Transfer the hot butter to a heat‑proof bowl placed in an ice bath for 30 seconds to halt browning without cooling it too much.
- In a separate bowl, whisk together the flour, baking soda, and smoked sea salt. This dry mix ensures even distribution of leavening and seasoning, preventing pockets of salt or soda that could cause uneven rise. Set aside while you move on to the sugars.
- Add the brown sugar and granulated sugar to the warm butter, stirring until fully incorporated. The mixture should look glossy and slightly thick, a texture that signals the sugars have dissolved just enough to create a smooth base. If any granules remain, keep mixing – you don’t want a gritty cookie.
- Beat in the egg, vanilla, and peppermint extract. The batter should become silky, with the egg fully emulsified into the butter‑sugar mixture. This is where the dough starts to develop its characteristic sheen; you’ll notice a subtle rise in volume as the egg traps air.
- Gradually fold the dry flour mixture into the wet ingredients, using a spatula to avoid over‑mixing. Stop as soon as you see the flour disappear – over‑mixing develops gluten, which makes the cookie tough instead of meltaway. The dough will be thick, almost like a soft play‑dough.
- Stir in the dark chocolate chips and the melted white chocolate (cooled slightly). The chips should be evenly speckled throughout, and the white chocolate will add a glossy sheen to the dough itself. Watch Out: If the white chocolate is too hot, it will melt the butter again, resulting in a runny dough. Let it cool to about 90°F before adding.
- Cover the dough with plastic wrap and chill it in the refrigerator for exactly 20 minutes. This short rest firms the butter just enough to prevent excessive spreading, while still allowing the dough to stay pliable for shaping. I dare you to skip this step – the result will be a flat, over‑spread cookie that loses its meltaway magic.
- While the dough chills, preheat your oven to 375°F (190°C) and line two baking sheets with parchment paper. A hot oven is crucial for that quick caramelized edge; a lower temperature would bake the interior before the crust forms, ruining the texture.
- Remove the dough from the fridge and, using a tablespoon or small ice‑cream scoop, portion out balls about 1½ inches in diameter. Place them on the prepared sheets, spacing them 2 inches apart. Lightly press each ball with the back of a spoon to flatten just a touch – you want a gentle dome, not a pancake.
- Bake for 10‑12 minutes, watching closely as the edges turn a deep golden‑brown while the centers remain pale. The scent will shift from buttery to caramelized, and you’ll hear a faint crackle as the sugar caramelizes. Rotate the sheets halfway through for even browning. When the cookies are just set and the tops have a faint sheen, pull them out – they will continue to set on the sheet.
- Allow the cookies to cool on the sheet for 5 minutes, then transfer to a wire rack. While still warm, drizzle the remaining white chocolate in thin ribbons across the tops. The heat will melt the drizzle just enough to create a glossy river that hardens as the cookies cool.
That's it — you did it. But hold on, I've got a few more tricks that'll take this to another level. Stay with me here — this is worth it.
Insider Tricks for Flawless Results
The Temperature Rule Nobody Follows
Never bake these cookies straight from the freezer. Cold dough spreads too quickly, losing the delicate edge. Instead, let the dough rest at room temperature for five minutes after chilling; this small adjustment ensures the butter is soft enough to melt just at the right moment, giving you that signature crisp‑then‑melt texture.
Why Your Nose Knows Best
When the cookies are in the oven, trust your sense of smell more than the timer. The moment you detect a faint caramel note, you’re within seconds of perfection. If you rely solely on the clock, you risk over‑baking, turning the meltaway center into a dry crumb.
The 5‑Minute Rest That Changes Everything
After pulling the cookies from the oven, let them sit on the baking sheet for exactly five minutes before moving them. This short rest lets the interior finish setting while the edges stay soft enough for that final drizzle to adhere perfectly.
Friend’s Failure Story
A buddy of mine once tried to skip the chilling step, thinking “I’m in a rush”. The cookies spread into thin, crunchy discs that tasted like over‑cooked sugar. He learned the hard way that the chill is non‑negotiable for that meltaway magic.
Drizzle Perfection
When drizzling white chocolate, use a small pastry bag or a zip‑top bag with a tiny corner cut off. This gives you control over the thickness of each ribbon, preventing a soggy pool and ensuring each cookie gets an elegant, glossy finish.
Creative Twists and Variations
This recipe is a playground. Here are some of my favorite ways to switch things up:
Nutty Noel
Swap half the dark chocolate chips for toasted chopped pecans. The nuts add a buttery crunch that complements the caramelized edges, and the subtle earthiness makes the cookies feel even more festive.
Citrus Spark
Replace the peppermint extract with orange zest (about 1 teaspoon) and add a splash of Grand Marnier to the dough. The citrus brightens the flavor profile, turning the cookie into a holiday version of a classic orange‑chocolate combo.
Spiced Gingerbread
Incorporate ½ teaspoon of ground ginger, ¼ teaspoon of cinnamon, and a pinch of cloves into the dry mix. This transforms the cookie into a gingerbread‑inspired treat while keeping the meltaway texture.
Vegan Velvet
Use coconut oil instead of butter, replace the egg with a flax‑egg (1 tbsp ground flaxseed + 3 tbsp water), and choose dairy‑free dark chocolate. The result is a plant‑based version that still delivers that luxurious melt.
Double Drizzle Delight
After the first white chocolate drizzle sets, add a second drizzle of melted dark chocolate. This creates a marbled effect that looks as good as it tastes, and the added bitterness balances the sweetness beautifully.
Holiday Crunch
Fold in ¼ cup of crushed candy cane pieces just before chilling. The candy adds a peppermint crunch that pops against the soft interior, making each bite a surprise.
Storing and Bringing It Back to Life
Fridge Storage
Place the cooled cookies in an airtight container lined with a parchment sheet. They’ll stay fresh for up to five days, and the fridge helps preserve the crisp edges while keeping the interior soft.
Freezer Friendly
Separate layers of cookies with wax paper and store them in a zip‑top freezer bag. They freeze beautifully for up to three months. When you’re ready to enjoy them, let them thaw at room temperature for 15 minutes, then give them a quick 3‑minute bake at 300°F to revive the meltaway texture.
Best Reheating Method
To bring a cookie back to life, place it on a microwave‑safe plate, sprinkle a tiny splash (about a teaspoon) of water around the edge, and microwave for 10‑12 seconds. The steam re‑hydrates the interior, while the outer crust quickly crisps up again.