I was standing in the middle of my kitchen, staring at a wilted cabbage that had seen better days, when my roommate burst in, eyes wide and voice urgent. “You’ve got to try this,” she said, slapping a steaming pot on the counter. “I swear, the smell alone will have you begging for seconds.” I laughed, half thinking it was a joke, but the aroma that followed—rich tomato, smoky beef, the faint whisper of oregano—took me to a place where time didn’t exist. In that instant, a disaster turned into a revelation: the humble cabbage, usually a side dish, could become the star of the show.
Picture the scene: a bright, sunny kitchen, the clink of utensils, the sizzle of onions hitting hot oil, and the deep, comforting scent of browned ground beef mingling with tomato sauce. The sound of bubbling broth, the crackle of cheese melting, the gentle hiss of steam—each cue a note in a symphony of flavor. My taste buds were already dancing, the first bite a burst of savory, slightly sweet tomato with a smoky undertone, followed by the creamy mozzarella that melted like velvet. The texture was a delightful contrast: the tender cabbage leaves hugging a hearty filling, the sauce coating the layers like a silky blanket.
What sets this version apart from every other stuffed cabbage recipe out there is the meticulous layering of flavors and the simple, yet powerful, ingredient choices. I’ve stripped away the unnecessary, kept the core elements, and added a twist that makes the dish unforgettable. Think of it as a comfort meal that’s both familiar and refreshingly new. The cabbage is blanched just enough to soften without losing its bite, the meat mixture is seasoned to a depth that lingers, and the cheese topping creates a golden, bubbly crown that seals the flavors.
I’ll let you in on a secret: a splash of Worcestershire sauce at the right moment adds a subtle umami kick that elevates the entire dish. It’s a small detail, but it’s the kind of thing that turns a good meal into a great one. And trust me, this is hands down the best version you’ll ever make at home. If you’re skeptical, I dare you to taste this and not go back for seconds. Picture yourself pulling this out of the oven, the whole kitchen smelling incredible, and the first bite sending a wave of satisfaction across your palate. Okay, ready for the game‑changer? Let me walk you through every single step — by the end, you’ll wonder how you ever made it any other way.
What Makes This Version Stand Out
- Taste: The balanced blend of smoky beef, tangy tomato, and aromatic herbs creates a flavor profile that lingers long after the last bite.
- Texture: The cabbage leaves are tender yet firm, the filling is moist and cohesive, and the melted mozzarella adds a luxurious, gooey finish.
- Simultaneous Cooking: By blanching the cabbage and cooking the filling in one pan, the process stays streamlined and efficient.
- Ingredient Quality: Fresh ground beef, high‑quality canned tomatoes, and real mozzarella make a noticeable difference.
- Make‑Ahead Potential: Assemble the dish a day ahead, refrigerate, and bake when ready—perfect for busy schedules.
- Family‑Friendly: The mild, comforting flavors appeal to both kids and adults, making it a safe bet for any dinner table.
Alright, let's break down exactly what goes into this masterpiece…
Inside the Ingredient List
The Flavor Base
Ground beef is the heart of this dish, delivering rich, savory depth. I use a lean blend to keep the filling from becoming too greasy, yet the fat content still gives that satisfying mouthfeel. If you’re watching calories, a 90/10 mix works well, but if you’re craving decadence, a 80/20 will do the trick. Skipping beef would turn this into a lighter, but less satisfying, version—so don’t skip it.
The Texture Crew
Cabbage leaves are the canvas; they need to be soft enough to hold the filling but sturdy enough to resist falling apart. Blanching them in salted water for 2 minutes does the job perfectly. Rice adds a subtle chew and helps bind the mixture. If you’re vegan or vegetarian, substitute the beef with finely chopped mushrooms or lentils for a comparable texture.
The Unexpected Star
Worcestershire sauce is the unsung hero that adds depth without overt dominance. It’s a subtle umami boost that makes the sauce coat the cabbage like velvet. If you’re allergic to anchovies (the main ingredient in Worcestershire), a dash of soy sauce or a splash of balsamic vinegar can mimic the effect. The key is to add it after the onions have softened, so the flavor has time to marry with the rest.
The Final Flourish
Mozzarella cheese is the crowning glory, melting into a golden crust that locks in moisture. I always choose a good quality shredded mozzarella; it melts smoothly and adds a mild, creamy finish that balances the acidity of the tomatoes. For a sharper bite, sprinkle a little Parmesan on top before baking. If dairy is off the table, nutritional yeast or a dairy‑free cheese blend works surprisingly well.
Everything's prepped? Good. Let's get into the real action…

The Method — Step by Step
- Prep the Cabbage: Remove the core and slice the cabbage into 12–14 leaves. Place them in a large pot of boiling salted water and blanch for 2 minutes, then transfer to an ice bath to stop the cooking. This quick step keeps the leaves bright green and pliable. The moment the water cools, the cabbage should feel firm but tender—ready to hold the filling.
- Cook the Filling: In a large skillet, heat the olive oil over medium heat. Add the diced onion and sauté until translucent, about 3 minutes. Then add the minced garlic and cook for another 30 seconds, letting the aroma bloom. This is where the flavor base starts to build.
- Add the Beef: Toss in the ground beef, breaking it up with a wooden spoon. Cook until browned, about 5–6 minutes, ensuring no pink remains. Drain excess fat if necessary to keep the mixture from becoming too greasy. The beef should sizzle loudly, a sign of proper browning.
- Incorporate the Tomato Base: Stir in the diced tomatoes, tomato sauce, Worcestershire sauce, oregano, paprika, salt, and pepper. Let the mixture simmer for 8 minutes, allowing the flavors to meld and the sauce to thicken slightly. The sauce should be fragrant, with a slight sheen, and the spices should have fully released their aroma.
- Blend in Rice: Add the cooked rice to the skillet, mixing thoroughly. The rice absorbs the sauce and helps bind the filling, giving it structure when wrapped in cabbage. This step is crucial for a cohesive bite.
- Assemble the Cabbage Rolls: Lay a blanched leaf flat and spoon about 2–3 tablespoons of the filling onto the center. Fold the sides over the filling, then roll tightly. Repeat with remaining leaves and filling. This is the moment of truth; each roll should be snug yet not overly tight to avoid tearing.
- Bake to Perfection: Arrange the rolls in a baking dish, seam side down, and cover with the remaining tomato sauce. Sprinkle mozzarella evenly over the top. Bake at 350°F (175°C) for 25 minutes, or until the cheese is bubbly and golden. The final bake seals in the flavors and creates that irresistible, cheesy crown.
That's it — you did it. But hold on, I've got a few more tricks that'll take this to another level…
Insider Tricks for Flawless Results
The Temperature Rule Nobody Follows
Many cooks bake at a high temperature, thinking it will cook faster. I’ve found that baking at a steady 350°F allows the flavors to develop slowly and the cheese to melt evenly. If you’re in a hurry, you can increase the temperature to 375°F for the last 5 minutes, but watch closely to avoid scorching.
Why Your Nose Knows Best
Before you even taste, the aroma is your first judge. A well‑seasoned sauce should smell rich, slightly sweet, with a hint of smokiness. If it smells flat, let it simmer a bit longer; the spices need time to bloom.
The 5‑Minute Rest That Changes Everything
After baking, let the dish rest for 5 minutes before cutting into the rolls. This rest period allows the juices to redistribute, preventing a dry bite and keeping the filling moist. It’s a small pause that makes a big difference.
Cheese Layering Magic
For a crisp, golden top, sprinkle a little grated Parmesan or a dash of breadcrumbs on top of the mozzarella before baking. This creates a contrast in texture and adds a nutty flavor that pairs beautifully with the tomato base.
Layering for Flavor Depth
If you want a deeper flavor, layer a thin coat of the tomato sauce on the bottom of the baking dish before placing the rolls. This creates a richer sauce base and prevents the rolls from sticking.
The Quick‑Cool Trick
Once the rolls are assembled, quickly run them under cold water to remove excess heat before baking. This helps the cabbage maintain its firmness and prevents overcooking.
Creative Twists and Variations
This recipe is a playground. Here are some of my favorite ways to switch things up:
Spicy Mexican Cabbage Rolls
Add a tablespoon of chipotle powder and a dash of cumin to the filling, then top with shredded cheddar instead of mozzarella. Serve with a dollop of sour cream and a squeeze of lime for a bold, fiesta‑ready dish.
Mediterranean Twist
Swap the ground beef for ground lamb, stir in chopped sun‑dried tomatoes, and finish with a sprinkle of feta cheese. The tangy feta and the aromatic lamb create a Mediterranean vibe that’s both exotic and comforting.
Vegetarian Delight
Replace beef with a mixture of lentils, finely chopped zucchini, and diced mushrooms. Use a vegetable broth instead of beef broth for the sauce, and top with a generous amount of vegan mozzarella. This version is hearty, healthy, and crowd‑pleasing.
Asian Fusion
Incorporate soy sauce, a splash of rice vinegar, and a pinch of sesame oil into the filling. Replace the mozzarella with a blend of shredded coconut milk cheese, and garnish with chopped scallions and toasted sesame seeds for an Asian flair.
Low‑Carb Version
Omit the rice entirely and add a handful of chopped cauliflower rice instead. Use a low‑sugar tomato sauce to keep the carb count down while still delivering a robust flavor profile.
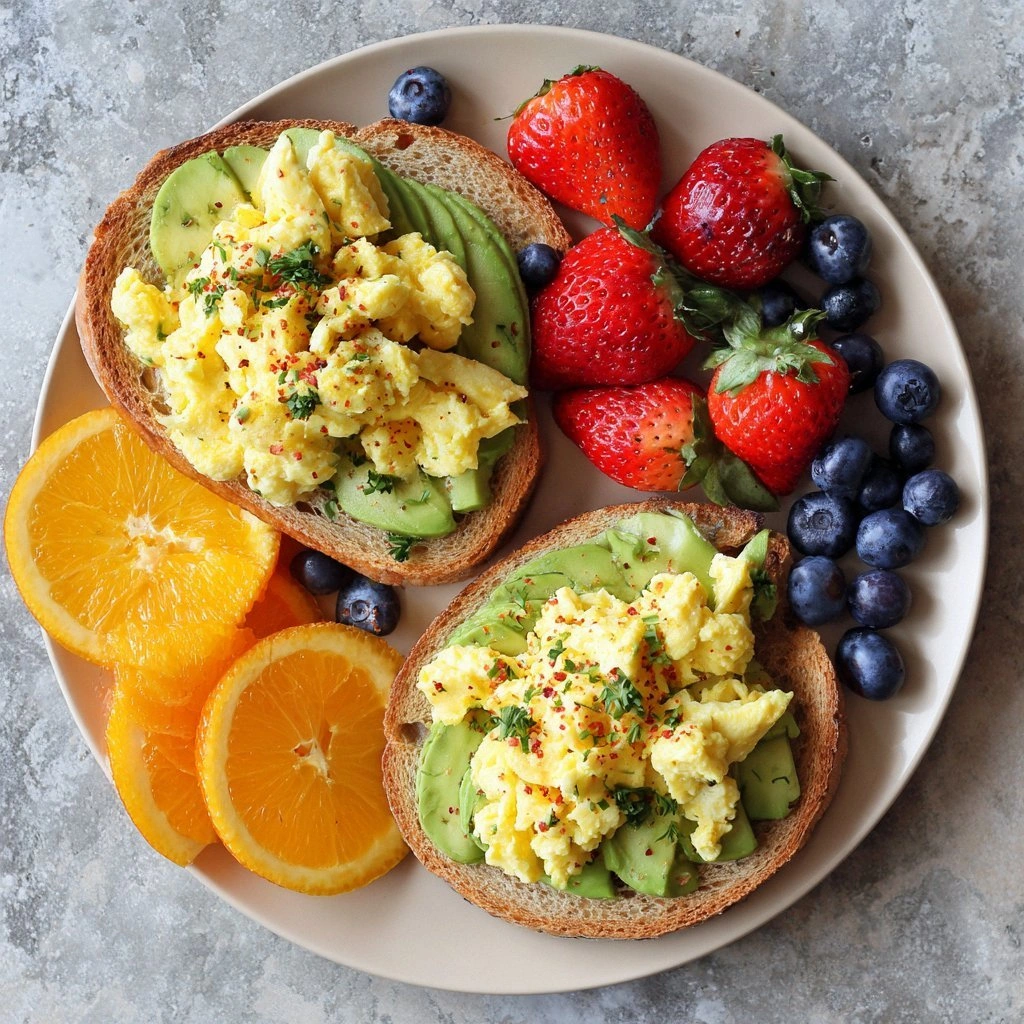
Breakfast Cabbage Rolls
Use scrambled eggs mixed into the filling, and top with shredded cheddar cheese. Bake until golden, then serve with a side of fresh fruit for a hearty breakfast that feels like a brunch treat.
Storing and Bringing It Back to Life
Fridge Storage
Cool the baked rolls completely, then cover tightly with plastic wrap or a lid. Store in the refrigerator for up to 4 days. The sauce keeps the dish moist, so you won’t need extra liquid when reheating.
Freezer Friendly
Wrap each roll individually in foil, then place them in a freezer bag. Freeze for up to 3 months. When ready, thaw overnight in the fridge before reheating.
Best Reheating Method
Reheat in a preheated oven at 350°F (175°C) for 15–20 minutes. Add a splash of water or broth before covering with foil to keep the rolls from drying out. The added moisture steams the dish back to perfection.