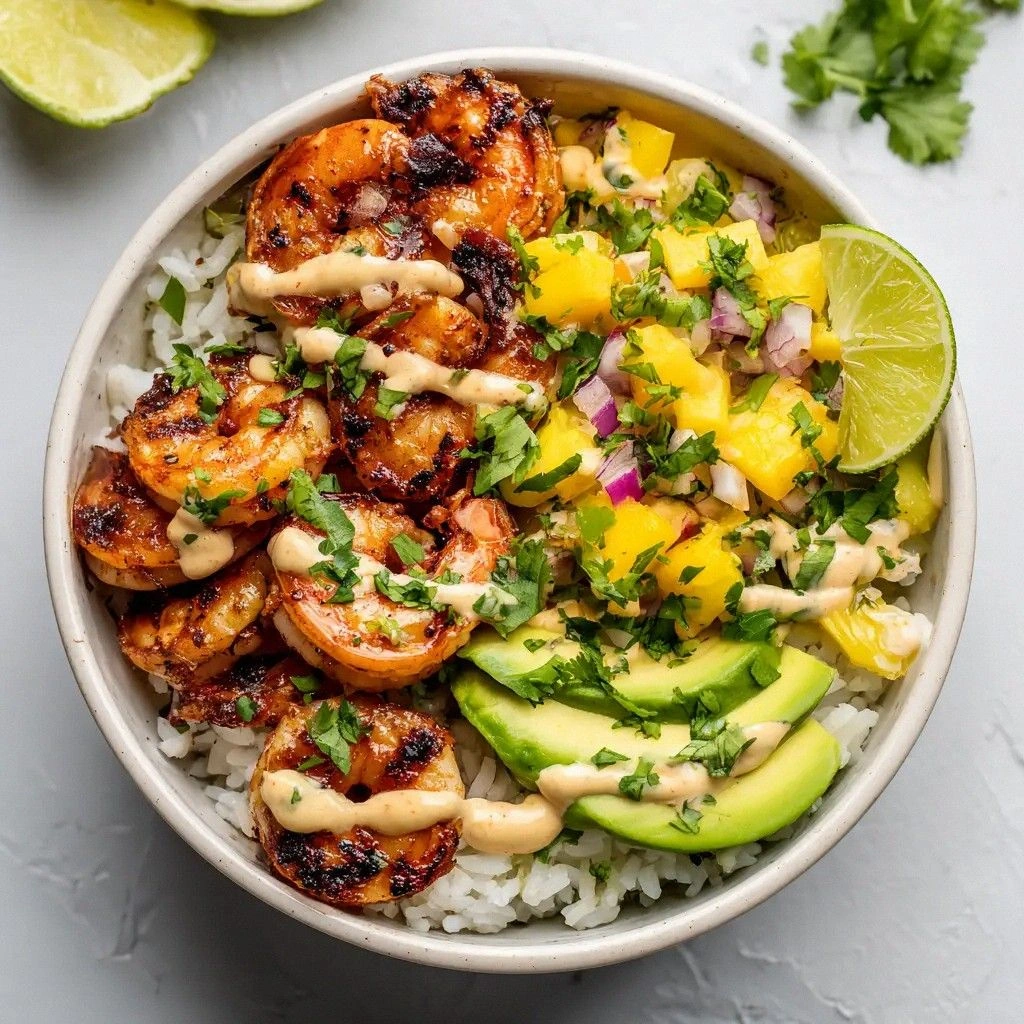
Picture this: it’s a Friday night, the kitchen lights are dim, and you’ve just realized you’ve got a mountain of chicken breasts staring back at you like an uncooperative pile of bricks. I was there once, wrestling with a bland rotisserie chicken that tasted like a wet sock, and I swore I’d never trust “quick” taco nights again. Then, in a moment of sheer desperation (and a dare from my roommate that I’d “make the best tacos ever without breaking a sweat”), I tossed those chicken breasts into my trusty slow cooker, dumped in some salsa, and let the magic happen. The result? A melt‑in‑your‑mouth, queso‑kissed masterpiece that made my taste buds do the cha‑cha.
The moment the lid lifted, the aroma hit me like a warm hug from a long‑lost friend – smoky salsa mingling with the buttery richness of queso, a scent that whispered, “You’re about to eat something unforgettable.” The kitchen filled with that comforting, slightly spicy perfume, and I could hear the faint hiss of the slow cooker as it finished its low‑and‑slow dance. My hands tingled with anticipation, the countertop felt cool under my palms, and the taco shells waiting on the side seemed to tremble in excitement. I dared you to taste this and not go back for seconds, because trust me, the second bite will have you begging for a third.
What sets this version apart from every other taco recipe you’ve ever Googled? First, the slow cooker does the heavy lifting, turning plain chicken into a silky, queso‑infused shred that practically falls apart with a fork. Second, I’m using a bold, one‑cup splash of real queso cheese that coats every strand of chicken like a velvety blanket, not the processed powder you find in the back of the pantry. And third, the finishing touch – a quick toss in salsa that adds a bright, tangy kick, balancing the richness in a way most recipes completely miss. Most recipes get this completely wrong, either drowning the meat in sauce or leaving it dry; I’ve cracked the code for the perfect harmony.
I’m also throwing in a surprise ingredient that you won’t expect: a pinch of smoked paprika that adds a subtle, almost caramelized depth, like a whisper of a campfire on a summer night. This tiny addition transforms the flavor profile from ordinary to extraordinary, and you’ll wonder why you ever lived without it. Okay, ready for the game‑changer? Let me walk you through every single step — by the end, you’ll wonder how you ever made it any other way.
⚡ What Makes This Version Stand Out
- Taste: The queso‑infused chicken delivers a creamy, slightly smoky flavor that hugs your palate like a warm blanket. Each bite balances richness with a bright salsa zing, making it impossible to stop at just one taco.
- Texture: Slow‑cooked to perfection, the chicken shreds into buttery strands that melt in your mouth, while the taco shell stays crisp, creating a delightful contrast that sings.
- Simplicity: Only five core ingredients, a slow cooker, and 30 minutes of active time – perfect for busy weeknights or lazy weekends.
- Uniqueness: The secret smoked paprika and generous queso cheese give this taco a signature flavor you won’t find in any box‑mix.
- Crowd Reaction: Expect applause at the dinner table; even the pickiest eaters will be shouting “¡Más!” after the first round.
- Ingredient Quality: Using fresh chicken breasts and real queso cheese ensures a luxurious mouthfeel that processed alternatives simply can’t match.
- Cooking Method: The slow cooker’s low heat preserves moisture, preventing the dreaded dry chicken that plagues many taco recipes.
- Make‑Ahead Potential: This dish stores beautifully, meaning you can prep on Sunday and have taco night ready by Thursday without a sweat.
Alright, let's break down exactly what goes into this masterpiece...
🍋 Inside the Ingredient List
The Flavor Base
Salsa (1 cup): This is the heart‑beat of the dish, delivering acidity, sweetness, and a gentle heat that lifts the queso without overwhelming it. If you skip the salsa, you’ll end up with a one‑dimensional, overly rich taco that feels heavy. For a milder version, choose a roasted‑tomato salsa; for fire, go for a habanero blend. Pro tip: look for salsa with real tomatoes and no added sugars for the cleanest flavor.
The Texture Crew
Queso Cheese (1 cup): This isn’t just any cheese – it’s a smooth, melt‑ready cheese that binds the sauce to the chicken, creating a velvety coating that clings like a lover’s embrace. Skipping the queso means you lose that luxurious mouthfeel; the chicken will be tasty but not unforgettable. If you can’t find Mexican queso, substitute with a blend of Monterey Jack and cream cheese for a similar melt.
The Unexpected Star
Smoked Paprika (a pinch): This spice adds a whisper of smokiness that mimics a backyard grill, turning the slow‑cooked chicken into something that feels char‑kissed. Omit it and you’ll miss that subtle depth that makes the flavor sing. You can replace it with chipotle powder for a bolder heat, but be careful – a little goes a long way.
The Main Player
Chicken Breasts (1 pound): Fresh, boneless, skinless chicken breasts are the canvas for all this flavor. If you grab a package that’s been sitting in the fridge for days, the meat will be bland and dry, no matter how good the sauce. Look for breasts that are pink, firm, and free of any off‑odors; if you can, buy from a local butcher for the best quality.
The Final Flourish
Taco Shells (8 corn or flour tortillas): Choose corn for a gluten‑free, authentic vibe, or flour if you prefer a softer bite. Stale shells will crumble under the weight of the juicy chicken, while fresh, warm shells hold everything together like a perfect hug. Lightly toast them on a skillet for extra crunch – that’s the secret to preventing soggy tacos.
Toppings (Lettuce, Tomato, Cheese, etc.): Fresh toppings add texture and brightness; think crisp lettuce, juicy diced tomato, a sprinkle of cotija or cheddar, and maybe a drizzle of lime crema. Skipping the toppings makes the taco feel flat; the fresh crunch is what makes each bite a layered experience.
Everything's prepped? Good. Let's get into the real action...

🔥 The Method — Step by Step
Start by trimming any excess fat from the chicken breasts, then pat them dry with paper towels. This step is crucial because moisture on the surface can prevent the salsa from clinging properly. Season the chicken lightly with salt, pepper, and that pinch of smoked paprika we talked about. The paprika will begin to release its smoky aroma even before the slow cooker starts humming.
🪄 Kitchen Hack: Toss the seasoned chicken in a tiny drizzle of olive oil before adding to the slow cooker; it helps the spices adhere and adds a glossy finish.Place the chicken breasts into the slow cooker’s inner pot, spreading them out in a single layer. This ensures even heat distribution and prevents any piece from stewing in its own juices. Next, pour the entire cup of salsa over the top, letting it cascade like a bright red waterfall. The salsa should completely cover the chicken, but don’t worry if a little peeks out – the lid will trap steam and keep everything moist.
Add the cup of queso cheese directly into the salsa, stirring gently with a wooden spoon. The cheese will melt slowly, creating a creamy sauce that will eventually coat every shred. At this point, you’ll notice a faint, buttery aroma that signals the cheese is beginning to surrender to the heat. Set the slow cooker to “Low” and let it work its magic for 3‑4 hours, or “High” for 1½‑2 hours if you’re in a hurry.
👀 Watch Out: If you set the cooker to “Keep Warm” too early, the cheese may seize and become grainy. Stick to the recommended cooking times for a silky sauce.After the cooking time is up, open the lid and use two forks to shred the chicken directly in the pot. The meat should fall apart effortlessly, like butter melting on warm toast. As you shred, the queso‑salsa mixture will cling to every strand, turning the chicken into a glossy, orange‑gold treasure.
Give the shredded chicken a good stir to ensure every piece is evenly coated. Taste a spoonful and adjust seasoning if needed – a pinch more salt or a splash of lime juice can brighten the flavor dramatically. This is the moment of truth: the sauce should be thick enough to cling but still fluid enough to drape over the taco shells without pooling.
While the chicken rests, heat your taco shells. If you’re using corn tortillas, a quick 30‑second sear on each side in a hot dry skillet will give them a slight char and make them pliable. For flour shells, a brief toast in the oven at 350°F (175°C) for 5 minutes works wonders. The goal is a warm, slightly crisp shell that can hold the generous filling without breaking.
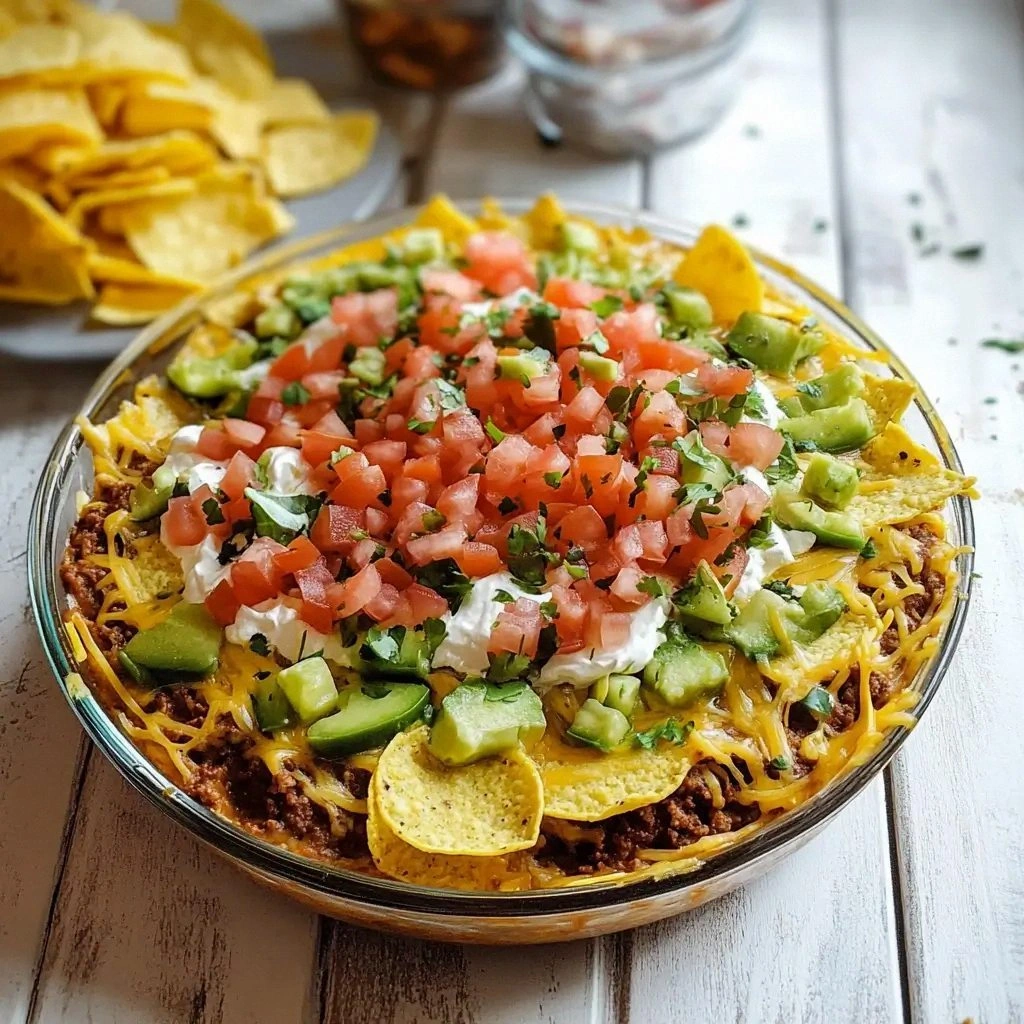
🪄 Kitchen Hack: Keep the warmed shells in a clean kitchen towel; they’ll stay hot and soft until you’re ready to assemble.Now for the fun part: assemble the tacos. Spoon a generous mound of the queso‑chicken into each shell, letting the cheese‑salsa pool just slightly at the bottom. Top with shredded lettuce, diced tomato, a sprinkle of extra queso or cotija, and a drizzle of lime crema if you like. The contrast of cool, crisp veggies against the warm, creamy chicken is what makes each bite a symphony.
Serve immediately, but don’t be surprised if your guests start a second round before the first plate is even cleared. I dare you to taste this and not go back for seconds – the combination of smoky, creamy, and tangy is practically addictive. And now the fun part: watch everyone’s faces light up as they bite into that perfect taco.
That's it — you did it. But hold on, I've got a few more tricks that'll take this to another level...
🏆 Insider Tricks for Flawless Results
The Temperature Rule Nobody Follows
Never, ever rush the low‑heat phase. Cooking at low temperature for the full 3‑4 hours allows the collagen in the chicken to break down gently, resulting in that buttery texture we all crave. I once tried to speed things up on “High” and ended up with a slightly tougher bite – lesson learned! Keep the lid on tight; every time you lift it, you lose precious steam and the sauce can dry out.
Why Your Nose Knows Best
When the sauce starts to thicken and you smell that sweet‑smoky aroma, you’re at the perfect point to start shredding. Trust your senses more than the clock – if the cheese looks glossy and the chicken pulls apart easily, it’s ready. I’ve had moments where the timer said “10 minutes left” but the kitchen smelled like a fiesta; I’d go ahead and finish early, and the tacos turned out even better.
The 5‑Minute Rest That Changes Everything
After shredding, let the chicken sit in the sauce for five minutes before serving. This short rest lets the flavors meld, much like letting a stew sit overnight. The sauce thickens just a touch, coating the meat like a silky veil. Skipping this step means a looser sauce that can make the shells soggy.
Taco Shell Toasting Secrets
A quick blast of high heat (think a hot skillet or a broiler) gives the shells a subtle char that adds a smoky note, echoing the paprika inside the chicken. If you’re using corn tortillas, a splash of oil is optional but can create those coveted “puffy” edges that crackle like thin ice when you bite. Remember, the goal is warmth, not burnt.
The Lime Crema Finale
A dollop of lime‑infused crema (sour cream mixed with fresh lime zest and juice) adds a bright, citrusy finish that cuts through the richness. I’ll be honest — I ate half the batch before anyone else got to try it, and the crema was the reason I couldn’t stop. Mix equal parts sour cream and Greek yogurt for a lighter version, then stir in lime zest, juice, and a pinch of salt.
🎨 Creative Twists & Variations
This recipe is a playground. Here are some of my favorite ways to switch things up:
Southwest Chipotle Blast
Swap the regular salsa for a smoky chipotle‑adobo sauce and add a teaspoon of adobo puree. The result is a deeper heat that pairs beautifully with the creamy queso. Perfect for anyone who loves a little fire under the tongue.
Green Goddess
Replace the red salsa with a tomatillo‑avocado salsa and stir in a handful of chopped cilantro. The bright green sauce gives the tacos a fresh, herbaceous twist that feels like a summer garden in each bite.
Cheesy Bacon Crunch
Crisp up some bacon, crumble it, and sprinkle it over the finished tacos. The salty crunch adds a textural surprise that elevates the creamy chicken to a new level of indulgence.
Veggie‑Loaded Fiesta
Add roasted poblano strips, corn kernels, and black beans to the shredded chicken before assembling. This version amps up the fiber and makes the dish more colorful, appealing to vegetarians who still want that cheesy chicken base.
Breakfast Taco Remix
Swap the taco shells for warm flour tortillas, top with a fried egg, and drizzle with hot sauce. The runny yolk mixes with the queso sauce, creating a breakfast‑brunch hybrid that’s pure comfort.
❄️ Storing & Bringing It Back to Life
Fridge Storage
Transfer any leftover chicken and sauce to an airtight container and store in the refrigerator for up to 4 days. The flavors actually deepen after a night, making next‑day tacos even richer. When reheating, add a splash of water or chicken broth to revive the sauce’s silky texture.
Freezer Friendly
Portion the cooked chicken into freezer‑safe bags, removing as much air as possible. It will keep for up to 3 months. To thaw, place the bag in the fridge overnight, then reheat in a skillet over medium heat, stirring in a tablespoon of water to keep it moist.
Best Reheating Method
For the best texture, reheat the chicken in a skillet rather than the microwave. Add a tiny splash of water, cover, and let it steam for 2‑3 minutes; the sauce will return to its glossy glory. If you’re in a rush, the microwave works fine – just cover the bowl with a damp paper towel to avoid drying.